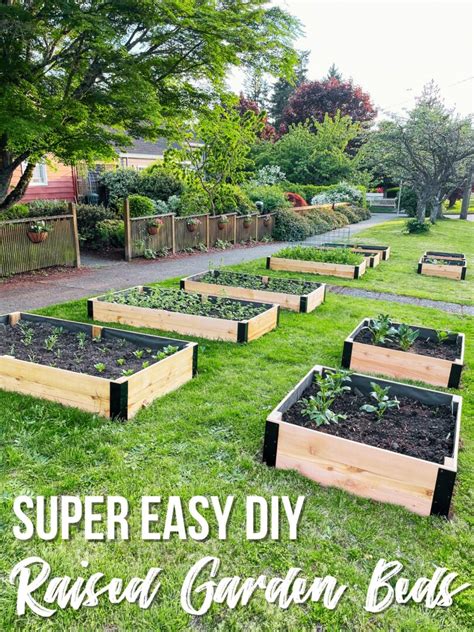
How to build a raised garden bed affordably?
Why Choose an Affordable Raised Garden Bed?
Raised garden beds offer numerous benefits: better drainage, easier weed control, improved soil quality, and reduced strain on your back. However, the cost of materials can quickly add up, deterring many aspiring gardeners. The good news is that building a raised bed doesn’t have to be expensive. With a bit of creativity and smart material choices, you can construct a durable and attractive garden bed that fits your budget.
Choosing an affordable approach means you can enjoy all the advantages of raised bed gardening without a significant financial outlay, making gardening accessible to everyone. It’s about smart planning and resourcefulness.
Selecting Budget-Friendly Materials
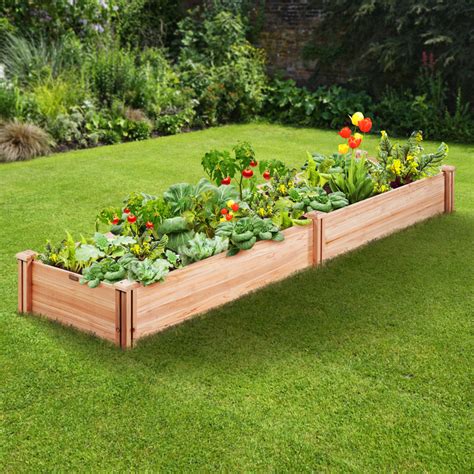
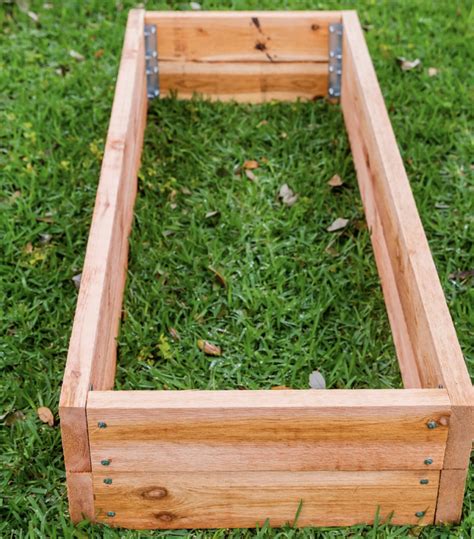
Wood Options
Wood is a classic choice for raised beds, but certain types are more budget-friendly than others. Untreated pine or fir, while not as long-lasting as cedar or redwood, can be significantly cheaper. To extend its lifespan, you can line the inside with a pond liner or heavy-duty plastic sheeting, ensuring it doesn’t come into direct contact with moist soil.
- Untreated Pine/Fir: Most economical, but requires protection or replacement sooner.
- Cedar: More expensive than pine, but naturally rot-resistant and lasts much longer. It’s often a good compromise between cost and durability.
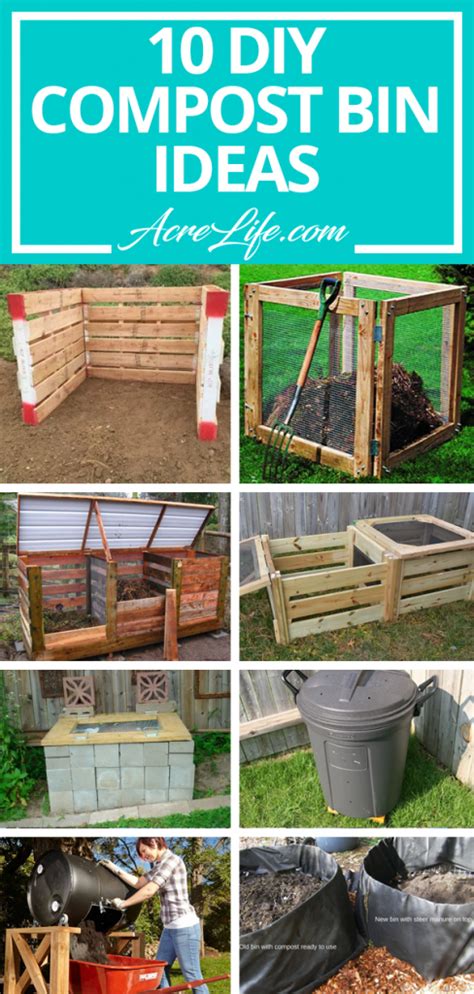
- Reclaimed Pallets: Free or very cheap, but inspect them carefully. Look for ‘HT’ (Heat Treated) stamps, and avoid ‘MB’ (Methyl Bromide) treated pallets, as these chemicals can leach into your soil. Disassemble carefully to avoid splitting.
Recycled and Repurposed Materials
This is where true affordability shines. Look around your home or local community for materials that can be given a new purpose.
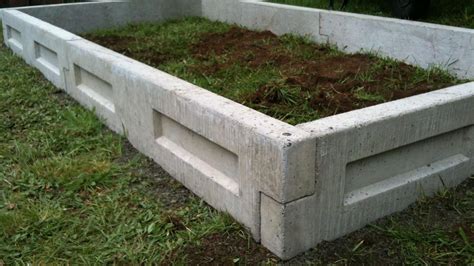
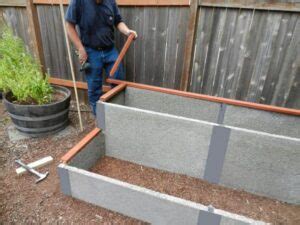
- Concrete Blocks/Cinder Blocks: Inexpensive, durable, and easy to stack without fasteners. The holes can even be filled with soil to grow small herbs or flowers.
- Corrugated Metal Roofing/Siding: Often available as scraps or reclaimed from old structures, this material is very durable and gives a modern, industrial look. Ensure it’s galvanized to prevent rust.
- Rocks or Bricks: If you have an abundance of stones on your property or can source used bricks cheaply, these can be stacked to form robust and long-lasting beds.
- Old Tires: While not aesthetically pleasing to everyone, old tires are virtually free and excellent for growing potatoes or other root vegetables.
Simple Design and Construction Tips
Keeping the design simple is key to saving money and effort. Complex shapes or very tall beds will require more materials and more cuts.
- Standard Dimensions: Stick to common lumber lengths (e.g., 8-foot boards) to minimize waste and cuts. A common width is 4 feet, allowing you to reach the center from either side without stepping into the bed.
- Choose a Bottomless Design: Most raised beds don’t need a bottom. This saves material and allows plant roots to reach into the subsoil, improving drainage and nutrient access. If placing on concrete or pavement, a bottom or a weed barrier is advisable.
- Minimal Fasteners: For wooden beds, use exterior-grade screws or galvanized nails. For block or rock beds, simply stack them. For corrugated metal, self-tapping screws or bolts work well for joining corners.
Step-by-Step Assembly Guide
1. Plan Your Layout
Decide on the size and location of your bed. Consider sunlight, water access, and proximity to your home. Mark out the dimensions on the ground.
2. Prepare the Site
Clear any weeds or grass from the designated area. Level the ground as much as possible to ensure your bed sits evenly. You can lay down a layer of cardboard (remove tape/labels) to suppress weeds underneath.
3. Cut and Assemble Materials
If using wood, cut your boards to the desired lengths for the sides and ends. Assemble them using screws or nails to form a rectangular or square frame. For concrete blocks, simply lay them out in your desired shape, stacking them if you want more height.
4. Add Lining (Optional but Recommended)
If using untreated wood or materials that might leach into the soil (e.g., some types of reclaimed metal), line the inside of your bed with heavy-duty plastic sheeting or a pond liner. Staple it in place, leaving drainage holes at the bottom.
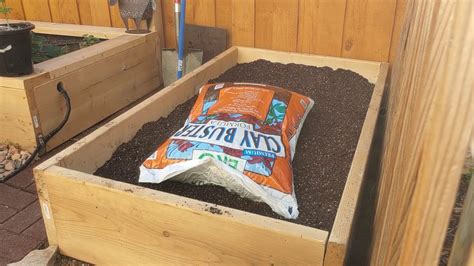
5. Fill with Soil
This is where costs can quickly escalate if you buy bagged soil. To save money:
- “Hugelkultur” Method: Fill the bottom with logs, branches, leaves, and other organic matter. This slowly decomposes, providing nutrients and retaining moisture.
- DIY Soil Mix: Combine compost (homemade is best!), topsoil (from a local supplier, often cheaper than bags), and perlite or vermiculite for drainage.
- Compost: Actively creating your own compost from kitchen scraps and yard waste is the most affordable way to enrich your soil.
Enjoy Your Affordable Garden!
Building a raised garden bed affordably is a rewarding DIY project that empowers you to grow your own food and flowers without a significant investment. By choosing budget-friendly materials and adopting a simple design, you can create a functional and beautiful gardening space that brings joy for years to come.