

What’s the best method to start heirloom vegetable seeds indoors for a bountiful harvest?
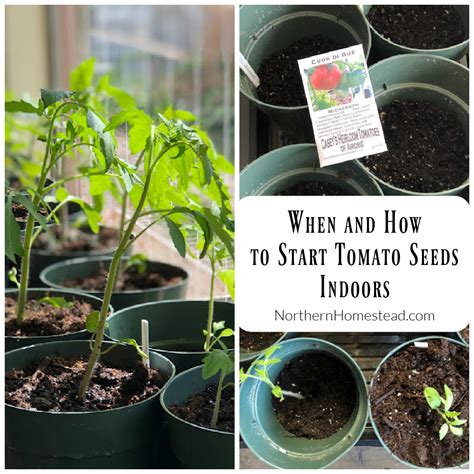
Embarking on the journey of growing heirloom vegetables from seed indoors offers immense satisfaction and a head start on the growing season. Heirlooms, with their rich history and unique flavors, require a thoughtful approach to indoor starting to ensure vigorous plants and, ultimately, a bountiful harvest. This guide will walk you through the best methods to achieve success.
Why Start Heirloom Seeds Indoors?
Starting heirloom seeds indoors provides several key advantages. It allows you to extend your growing season, particularly in regions with short summers, giving delicate plants a crucial head start. You gain access to a wider variety of unique heirloom cultivars not typically found as transplants in nurseries. Furthermore, it’s often more cost-effective than buying mature plants and gives you complete control over the growing conditions from day one, ensuring organic and healthy development.
Essential Supplies for Success
Before you begin, gather your tools. Quality supplies lay the foundation for strong seedlings:
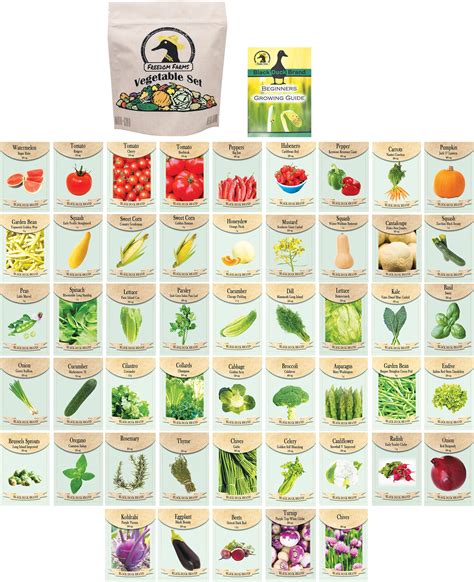
- Heirloom Seeds: Source from reputable suppliers to ensure viability and genetic purity.
- Seed-Starting Mix: A sterile, fine-textured, soilless mix is crucial for proper drainage and preventing diseases like damping-off. Avoid heavy garden soil.
- Seed Trays or Pots: Choose trays with drainage holes, individual cells, or biodegradable pots (e.g., peat pots, coir pots).
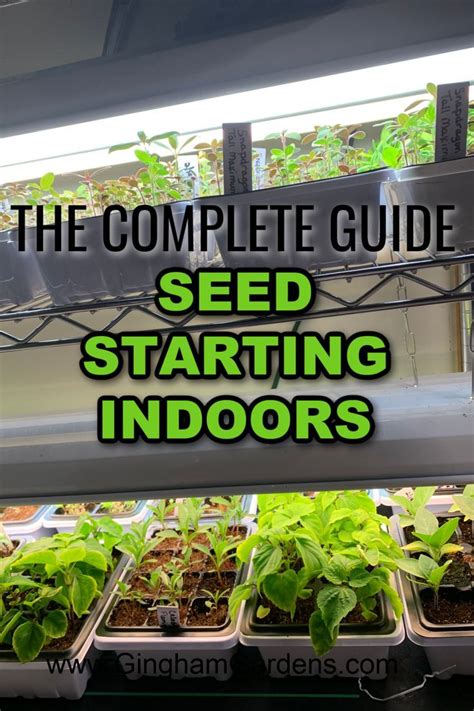
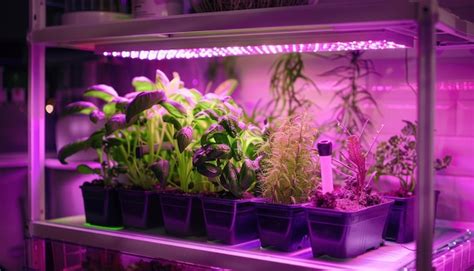
- Grow Lights: Essential for strong, non-leggy seedlings. Fluorescent T5s, LEDs, or full-spectrum grow lights are excellent choices.
- Heat Mat: Many seeds germinate best with consistent bottom heat.
- Clear Domes or Plastic Wrap: To create a humid environment for germination.
- Watering Can or Spray Bottle: For gentle watering.
- Labels: Crucial for identifying your different heirloom varieties.
The Step-by-Step Seed Starting Process
1. Prepare Your Setup
Ensure all trays, pots, and tools are clean and sterilized to prevent disease. Moisten your seed-starting mix thoroughly before filling your trays or pots. The mix should be damp but not soggy.
2. Sowing the Seeds
Follow the specific planting depth recommendations on your seed packets. A general rule of thumb is to plant seeds at a depth two to three times their diameter. Gently press small seeds onto the surface and lightly cover them. For larger seeds, create a small indentation. Space seeds according to packet instructions, usually 1-2 inches apart in open trays or one per cell. Label each cell or row immediately.
3. Providing Ideal Conditions for Germination
Once planted, place a clear dome or plastic wrap over your trays to maintain humidity. Position trays on a heat mat set to the optimal temperature for your specific seeds (often 70-85°F). Most seeds do not require light for germination, but once sprouts emerge, light becomes critical.
4. Light and Airflow for Seedling Growth
As soon as seedlings emerge, remove the humidity dome and place your trays under grow lights. Position the lights just a few inches (2-4 inches) above the tops of your seedlings. Run the lights for 14-16 hours daily, ensuring they are off for 8-10 hours to simulate natural day/night cycles. Adjust the light height as your seedlings grow to prevent them from becoming leggy (tall and thin). Good air circulation is also vital; a small fan set on low can help strengthen stems and prevent fungal diseases.
Nurturing Your Seedlings
1. Watering and Fertilizing
Water from the bottom whenever possible by placing trays in a shallow pan of water for 15-20 minutes, allowing the mix to wick up moisture. This encourages root growth and keeps foliage dry, preventing disease. Once seedlings develop their first true leaves (not the initial cotyledons), you can begin feeding them with a diluted liquid fertilizer (quarter to half strength) once a week.
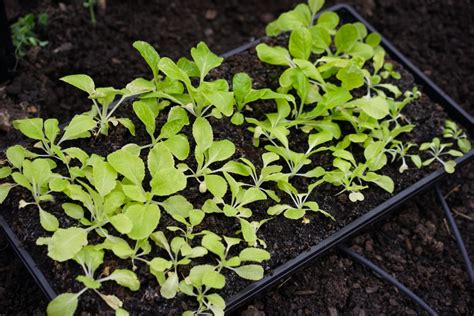
2. Thinning
If you’ve planted multiple seeds per cell or close together, thin them to the strongest seedling once they have their first true leaves. Use small snips to cut off weaker seedlings at the soil line, rather than pulling them, to avoid disturbing the roots of the keepers.
Hardening Off and Transplanting
About 7-10 days before you plan to move your seedlings outdoors permanently, begin the hardening-off process. This gradually acclimates them to harsher outdoor conditions (wind, direct sun, cooler temperatures). Start by placing them in a sheltered outdoor spot for a few hours daily, gradually increasing their exposure time and intensity. Bring them indoors at night.
Once the danger of frost has passed and your seedlings are hardened off, they are ready for transplanting into your garden beds. Water them well before and after transplanting. Handle them gently by their leaves or root ball, avoiding the delicate stems. Dig a hole slightly larger than the root ball, place the seedling, backfill, and water thoroughly.
The Rewards of a Bountiful Harvest
With careful planning and consistent care, starting heirloom vegetable seeds indoors is a highly rewarding endeavor. The effort invested in providing the best conditions for your young plants will pay dividends in robust growth, disease resistance, and ultimately, a garden bursting with delicious, unique, and truly bountiful heirloom vegetables.

Enjoy the process, savor the flavors, and take pride in growing your own culinary treasures from seed.


